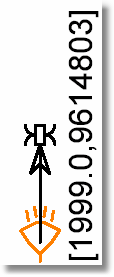
As you view the diagram, note that each crash has some text next to it. The default label should resemble your case id field. However, the labels may be configured to include any fields in the database.

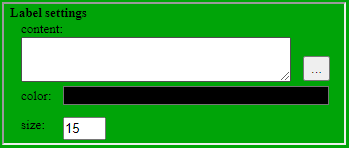
Select the Diagram Settings tab again and note the section for "Label settings". It includes options to set the color, content and size of the labels.

Click the ![]() button next to the content box. This will open the Expression editor for crash labels. The program is capable of producing labels that combine fields, are conditional on other fields, and may include other complex content. For now, locate the combo box in the top right corner of the form.
button next to the content box. This will open the Expression editor for crash labels. The program is capable of producing labels that combine fields, are conditional on other fields, and may include other complex content. For now, locate the combo box in the top right corner of the form.

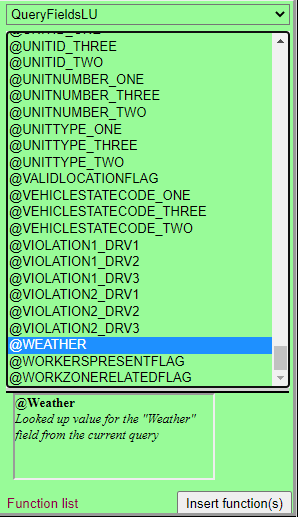
Select the category called "QueryFieldsLU". (This may already be selected for you.) The LU stands for "looked up" meaning that the program will display English descriptions of the data rather than the codes in your database. These fields should look familiar, as they come from your own database. Scroll down the list and find the one that describes the weather in your database. Select it and press the "Insert function(s)" button. The text (something like "@Weather") will appear in the editor on the left.
Select the "Save and return" button.
While we're here, change the size of the labels to "25".
Now click the blue Diagram Report tab to show the diagram with your new labels.
Note: you can use the zoom control on the bottom right of the diagram, or your mouse wheel to zoom in and out. You can also drag the diagram to pan up, down, right or left.
Now to set the label back to the default case id number, Select the Diagram Settings tab again and change the font back to "10". Also, click the ![]() button to edit the labels. This time, clear anything that is in the editor by either selecting the text and deleting it, or hitting the 'clear expression' button on the bottom.
button to edit the labels. This time, clear anything that is in the editor by either selecting the text and deleting it, or hitting the 'clear expression' button on the bottom.
Select the "Save and return" button.
Now click the blue Diagram Report tab to show the diagram with the default label.